This walkthrough is based on this offical guide:
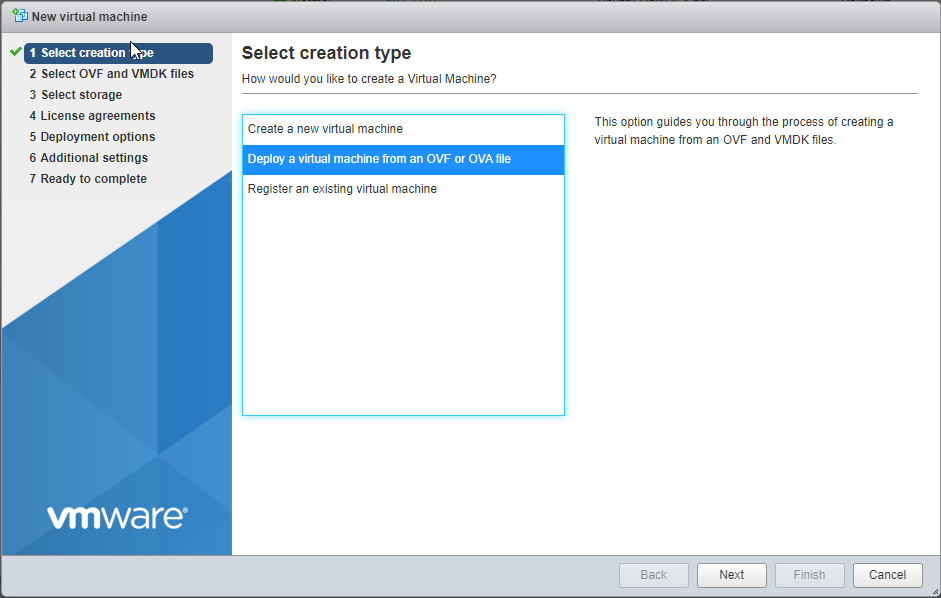
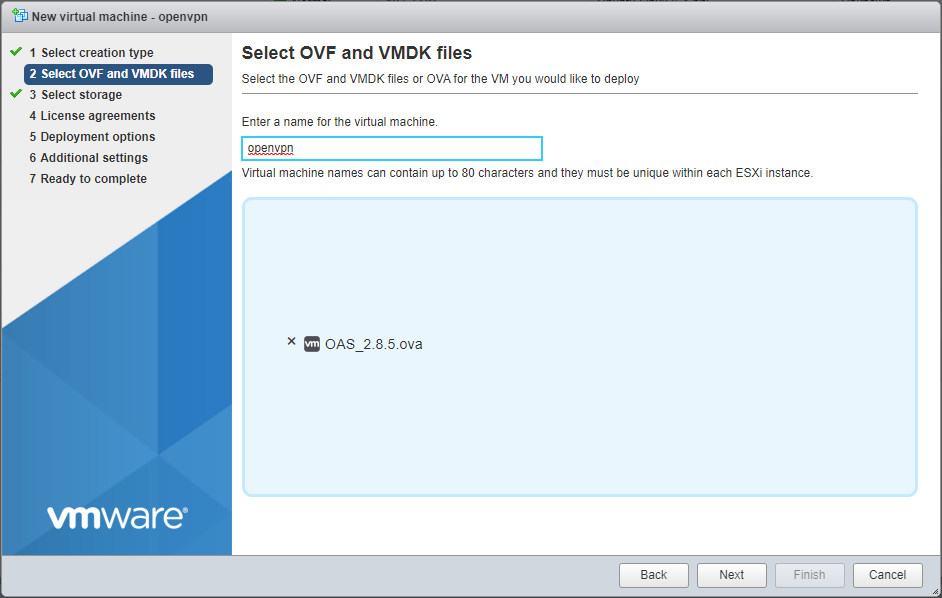
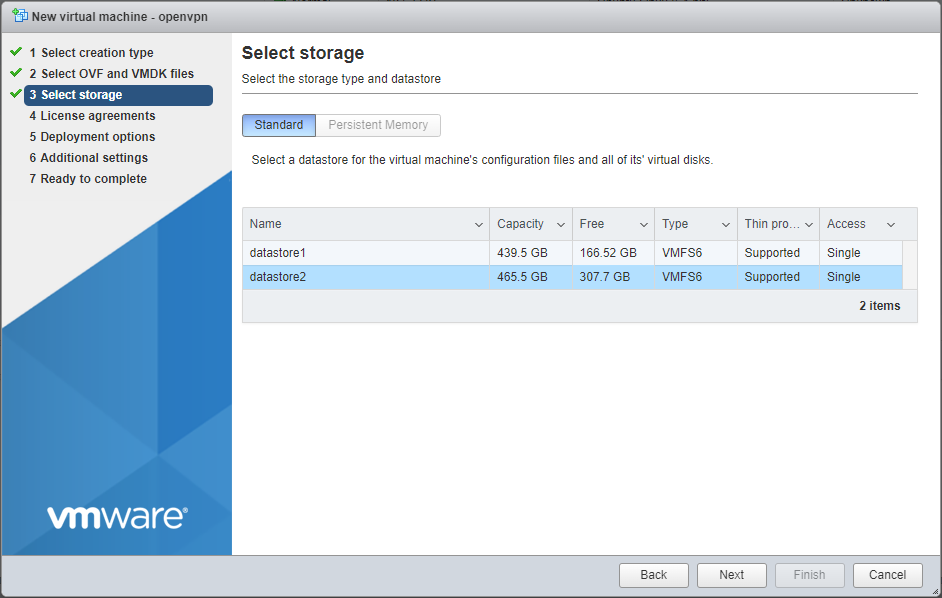
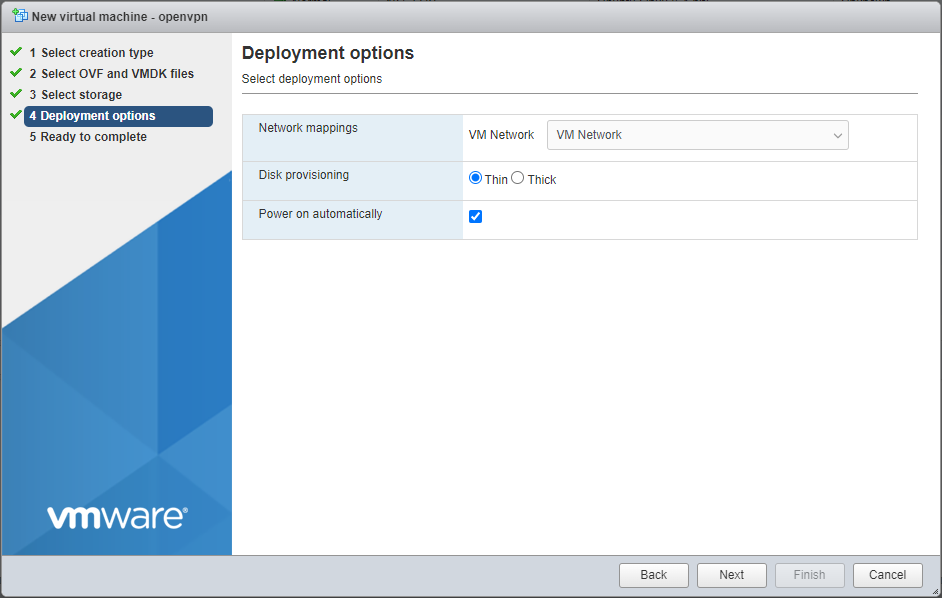
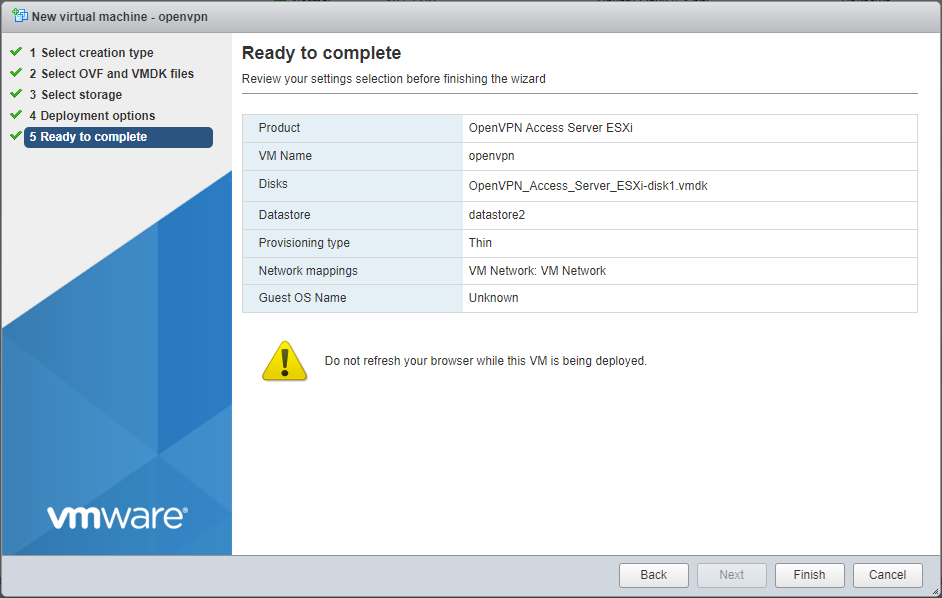
https://openvpn.net/vpn-server-resources/deploying-the-access-server-appliance-on-vmware-esxi/Create a new Virtual Machine deploying the OVA file:

Login to the console with the default credentials:
user: root

        pass: openvpnas
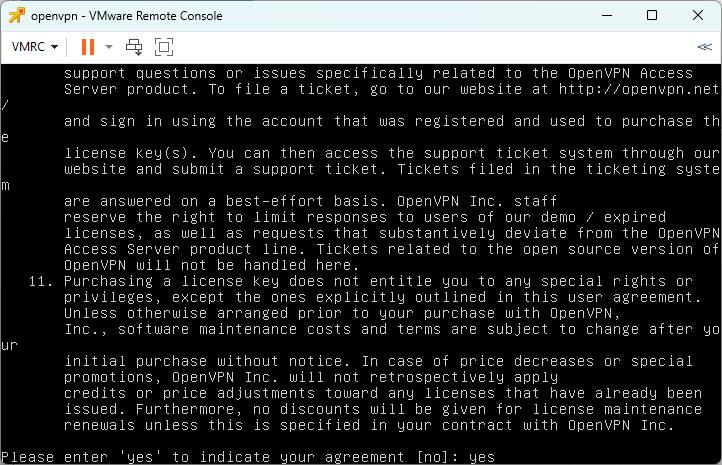
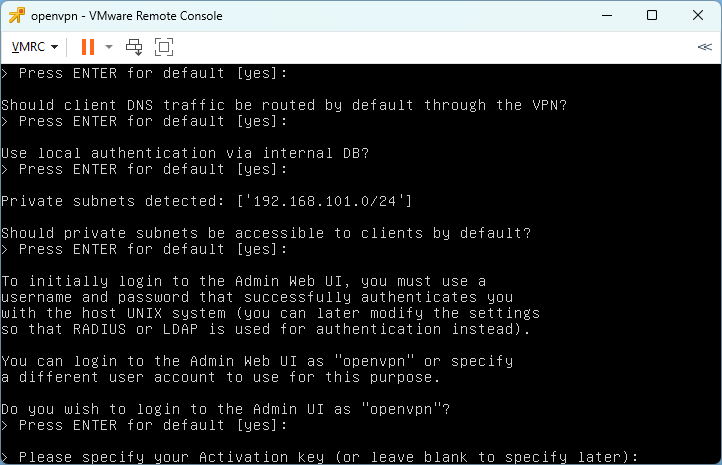
Follow the text based setup; in this case I kept all the default parameters:
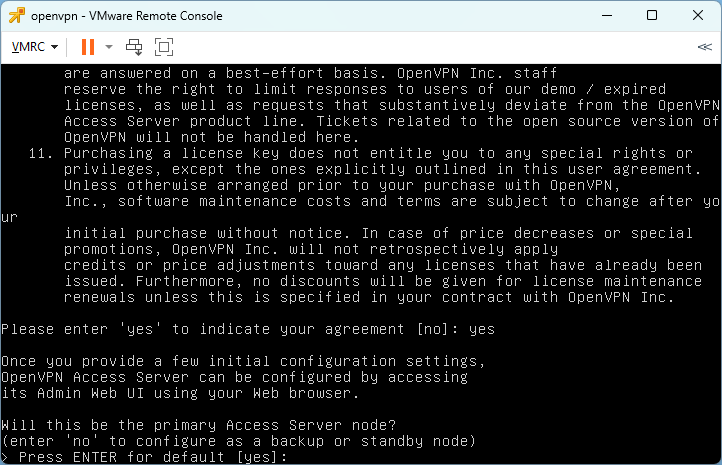
Here I'm going to bind the services to a dynamic IP; I'll set a static IP address later:
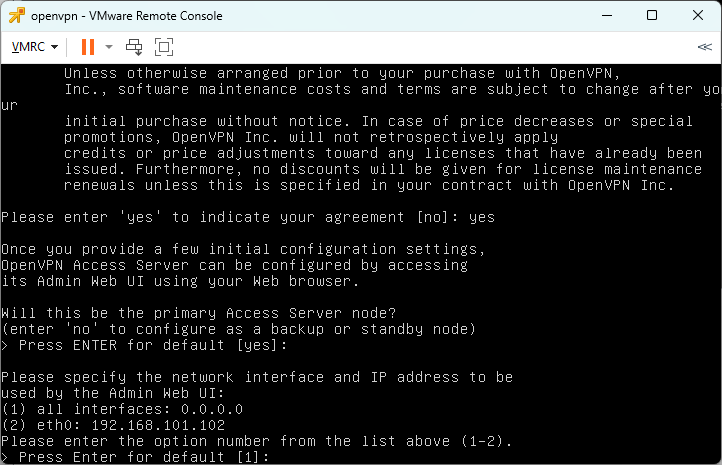
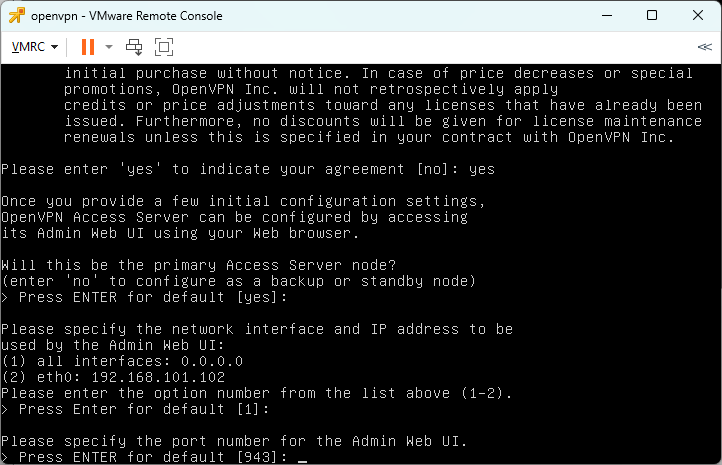
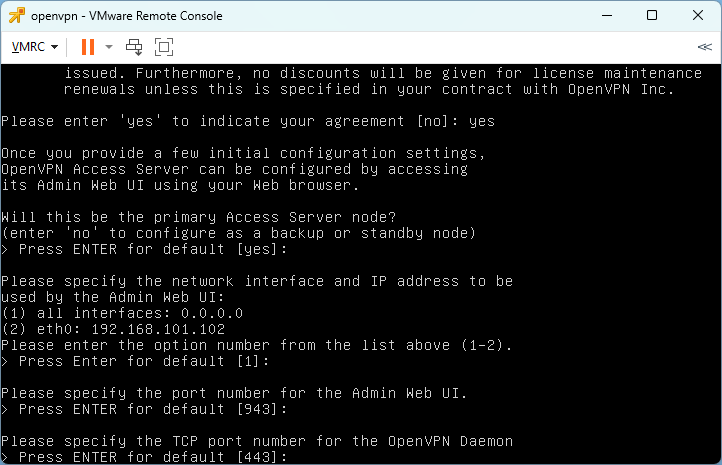
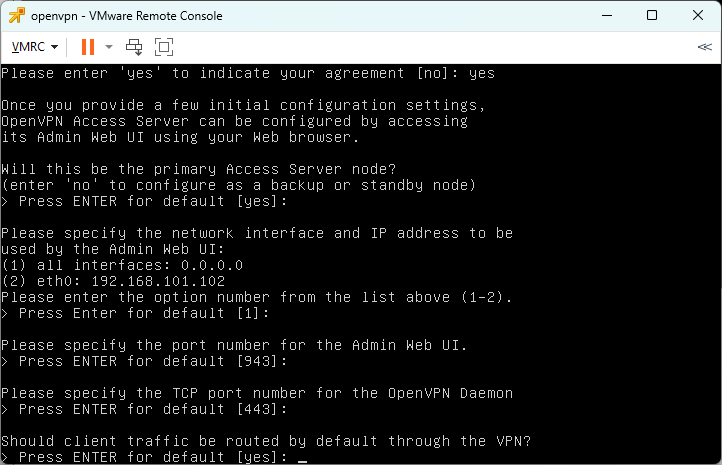
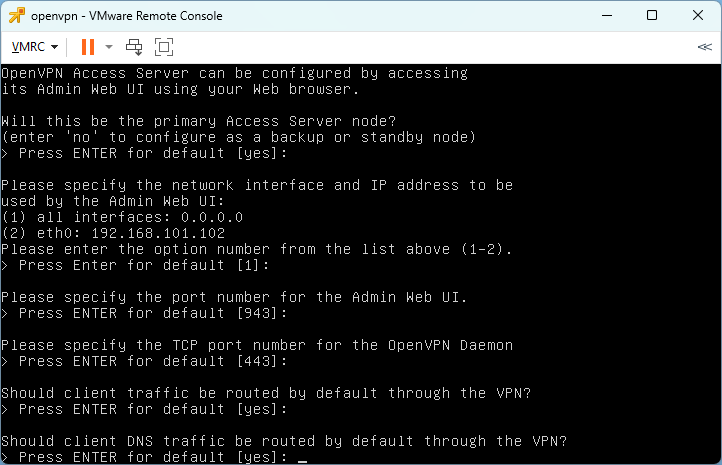
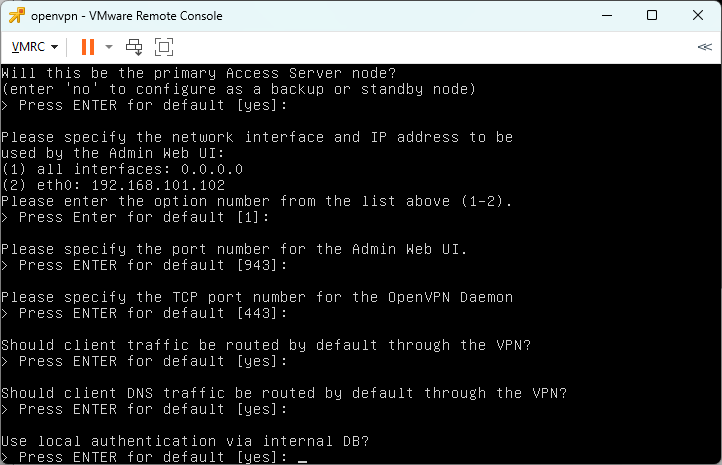
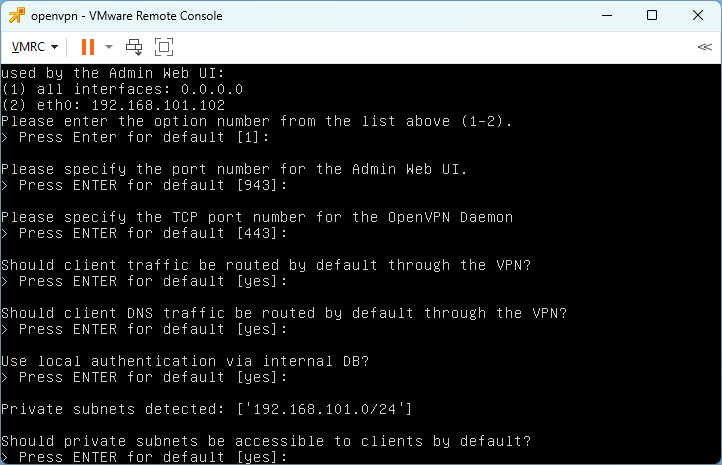
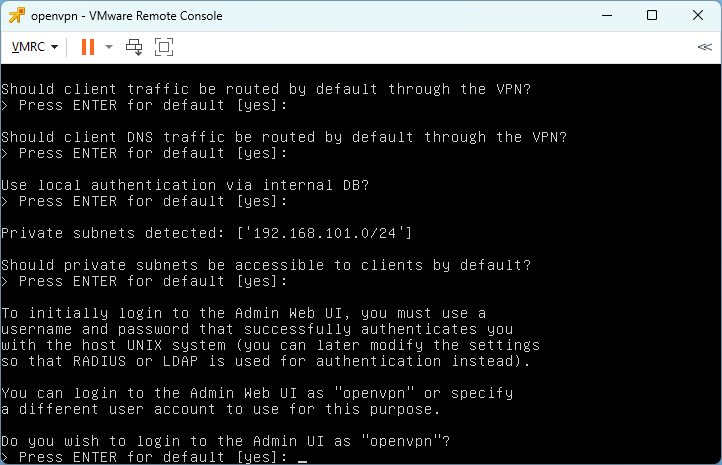
The activation key is not needed for free use (max 2 concurrent VPN connections):

Set the new password for root and openvpn user with:
passwd openvpn

        passwd root
Update and upgrade the appliance with:
apt-mark unhold openvpn-as

        apt update

        apt upgrade

        apt-mark hold openvpn-as
Set the timezone with:
dpkg-reconfigure tzdata
Set the hostname editing /etc/hostname with:
nano /etc/hostname
Reboot the appliance
To set a static IP address edit the .yaml file in /etc/netplan/ directory. The default settings look like this:

A static IP configuration looks like this:
network:

          version: 2

          renderer: networkd

          ethernets:

            eth0:

             dhcp4: no

             addresses: [192.168.101.15/24]

             gateway4: 192.168.101.254

             nameservers:

               addresses: [192.168.101.254]
netplan apply
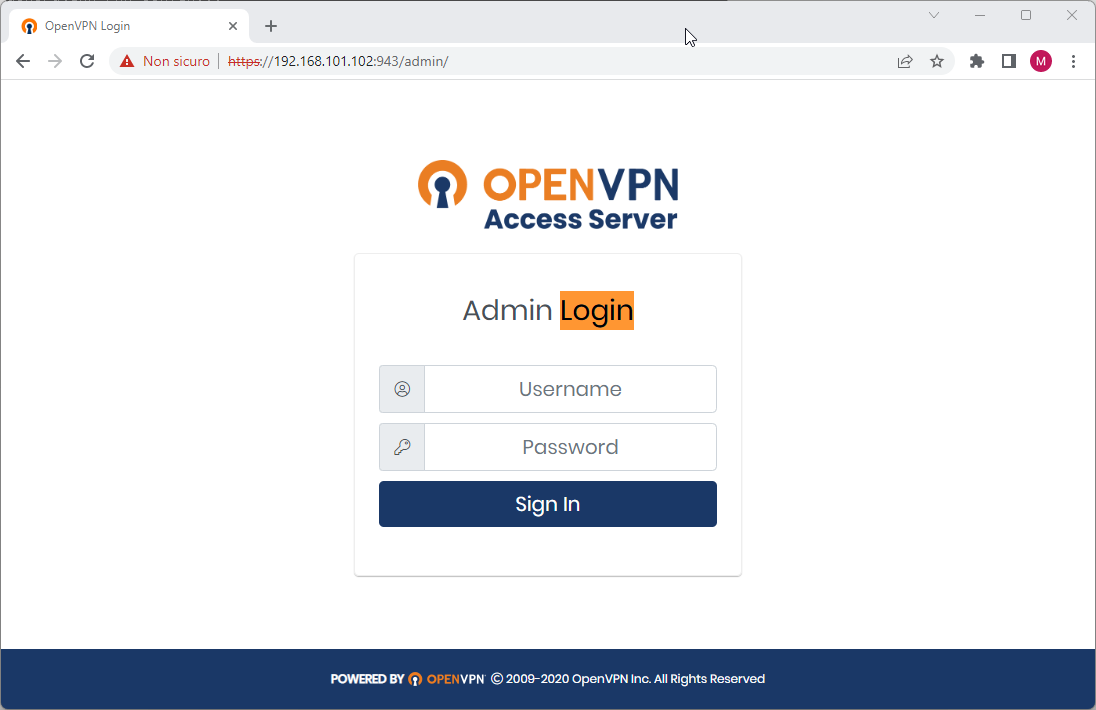
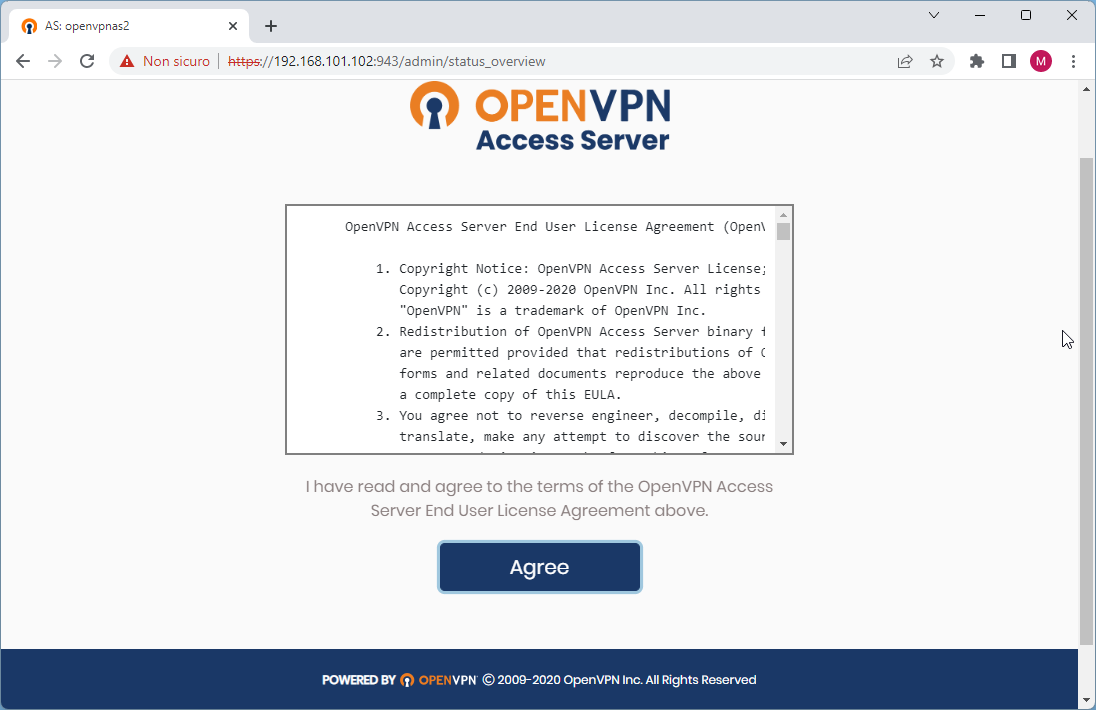
Open your browser to https://your_appliance_ip/ and you'll be redirected to the admin page/port:
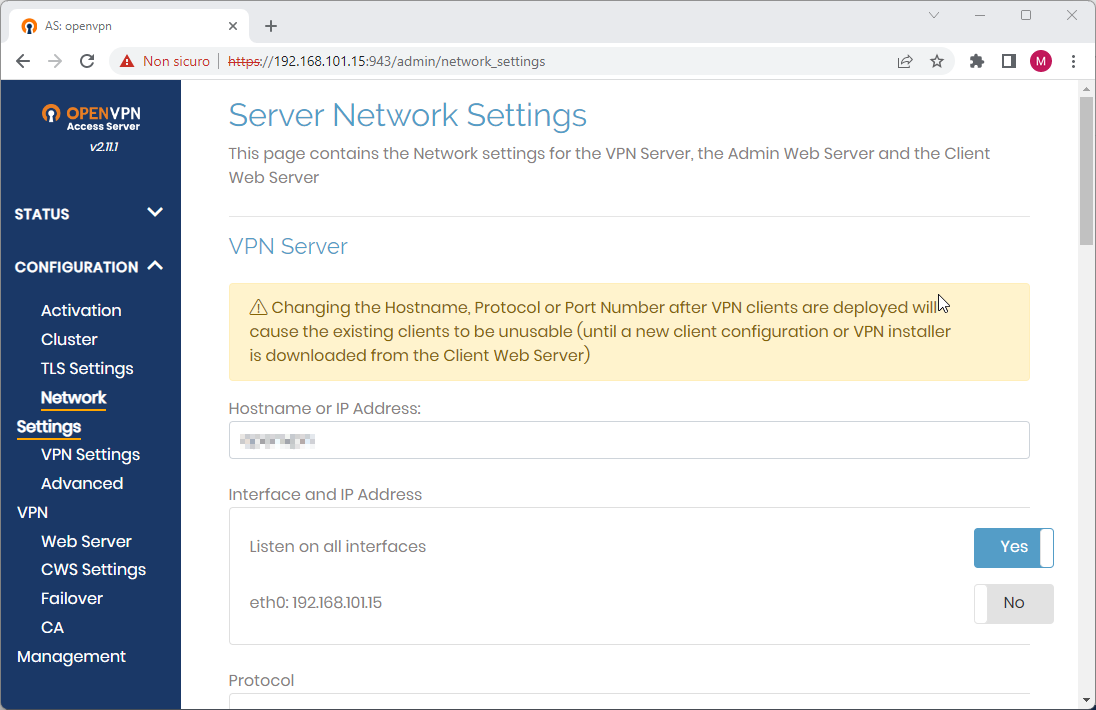
If you're going to expose the VM on internet, you'll need to set a public IP or FQDN in the “Hostname or IP Address” below:
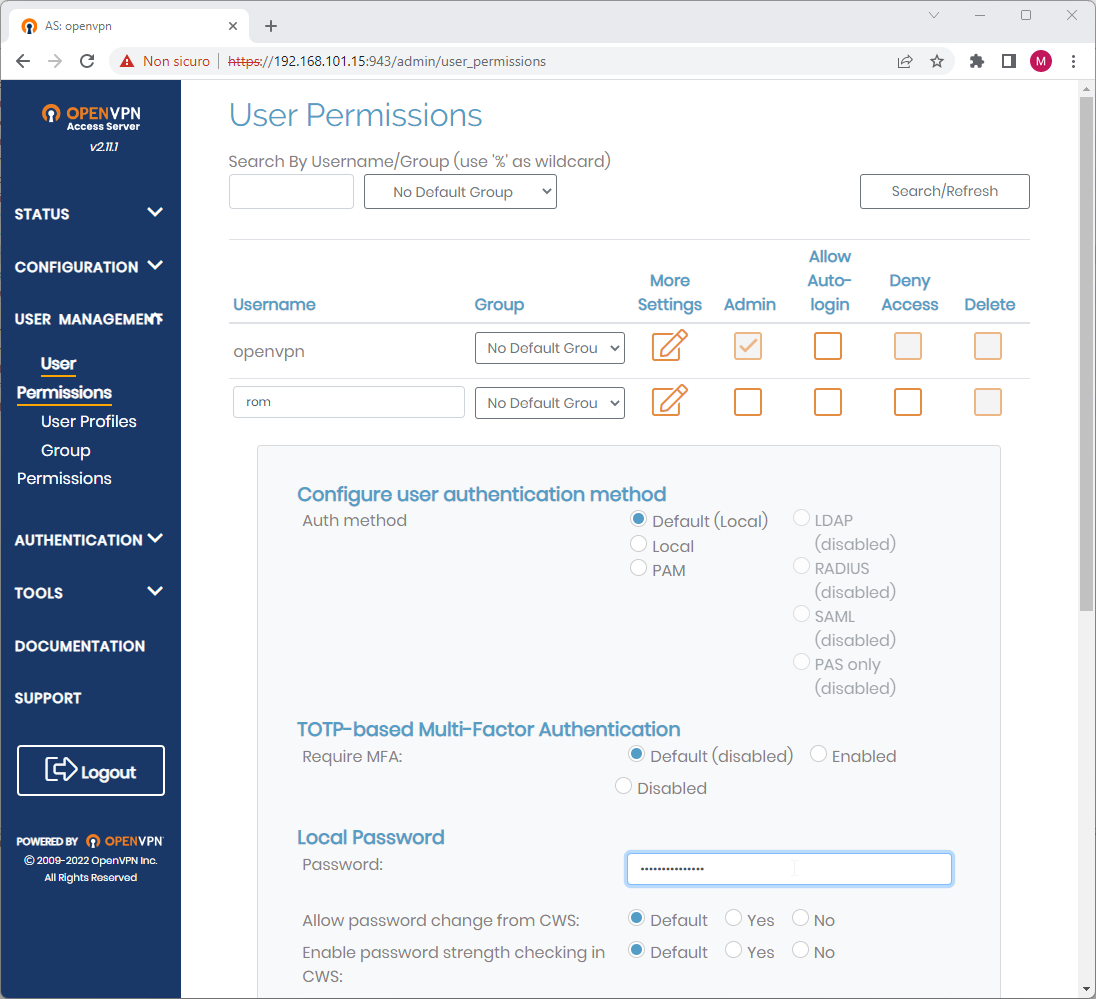
Create a new user with “Default (Local)" Auth method and set its password:
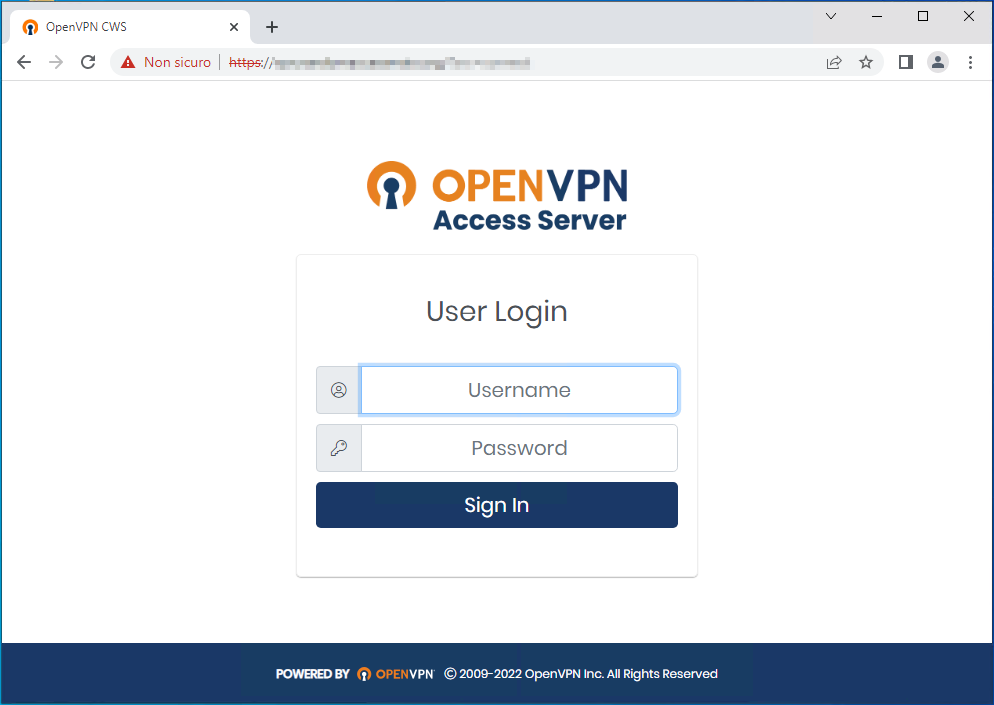
Open the browser on your client and point to https://your_fqdn/ and login:
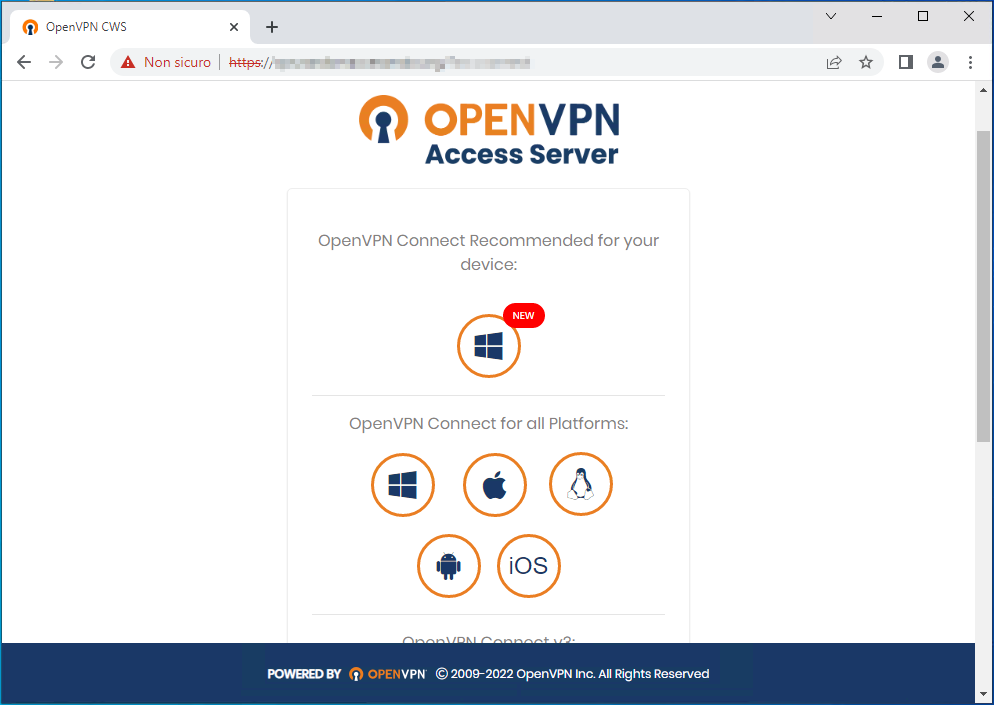
Download and install the relevant client for your OS:
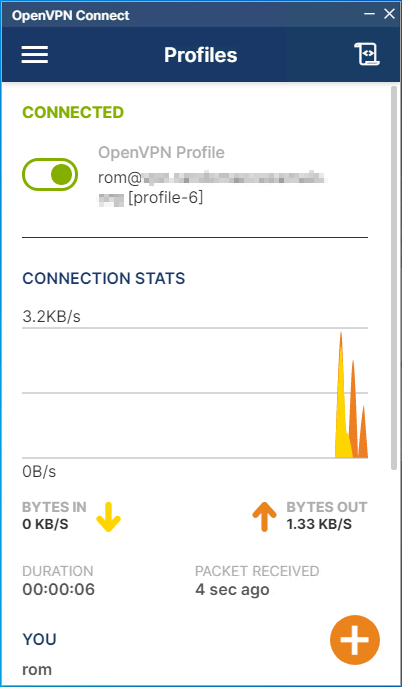
The OpenVPN client contains already the user profile, so you'll just have to connect and enjoy:

